How to Install a Water Filter Tap: Quick Steps
This post contains affiliate links. As an Amazon Associate, we earn from qualifying purchases.
Nothing beats the convenience of turning on your kitchen faucet and getting instantly filtered water for drinking and cooking. Learning how to install a water filter tap gives you immediate access to cleaner, better-tasting water without relying on bottled alternatives. Whether you’re a renter needing a non-permanent solution or a homeowner seeking a built-in system, this guide covers every installation method from basic countertop filters to complete under-sink setups.
You’ll discover exactly which water filter tap installation method matches your kitchen layout and skill level. We’ll walk through the tools required, common pitfalls to avoid, and specific steps for each system type. By following these instructions carefully, you’ll have purified water flowing from your own filter tap within an hour—no professional plumber needed.
Select the Right Water Filter Tap System for Your Kitchen
Choosing the correct filter system determines your installation complexity and long-term satisfaction. Countertop filter taps sit beside your sink with tubing connecting to a diverter valve—ideal for renters or those needing portability. Faucet-mount filter taps screw directly onto your existing spout with zero tools required, making them the quickest solution. Undermount filter tap systems install beneath your sink with a dedicated faucet, offering the cleanest appearance and highest filtration capacity.
Your decision impacts installation time, space requirements, and maintenance needs. Countertop units take minutes to install but occupy counter space near your sink. Faucet-mount options cost the least but may look bulky on certain faucet designs. Undermount systems demand plumbing knowledge but deliver seamless integration with your kitchen. Before purchasing, verify your faucet’s thread type (internal or external) as this affects compatibility with most filter tap systems.
Gather Essential Tools for Water Filter Tap Installation

Critical Installation Equipment
- Adjustable wrench for secure plumbing connections without damaging fittings
- 7/32″ drill bit (required only for undermount systems needing new faucet holes)
- Measuring tape to verify clearance space beneath your sink
- Flashlight for inspecting tight spaces under your sink cabinet
System-Specific Components
- Countertop systems: Diverter valve, polyethylene tubing, rubber washers, filter housing
- Faucet-mount systems: Filter cartridge, housing unit, thread adapters
- Undermount systems: Brass tee fitting, dedicated filtered water faucet, mounting bracket, tubing kit
Install a Countertop Water Filter Tap in 5 Minutes
Identify Your Faucet Thread Type Before Installation
Remove your faucet’s aerator by twisting it counterclockwise—this reveals the threading pattern. Internal threads appear inside the spout opening, while external threads wrap around the spout’s exterior. Most modern faucets use external threads, but older models often feature internal threading. If uncertain, test both adapter types included with your filter kit to determine which creates a watertight seal.
Secure the Diverter Valve to Your Faucet
For internal threads, stack two rubber washers inside the metal adapter before attaching the diverter valve. External threads require just one sealing washer placed inside the valve assembly. Hand-tighten the diverter firmly onto your faucet spout—never use tools as this can damage the connection. The valve should point toward your countertop filter’s location for optimal tubing routing.
Connect Filter Tubing and Test Water Flow
Push the polyethylene tubing from the diverter output into your filter’s inlet port until it clicks securely into place. Route the tubing without kinks, typically along the back of your countertop. Test the diverter handle: position it perpendicular (90° angle) for filtered water and parallel for regular tap flow. Expect slower flow during filtration—this indicates proper carbon block filtering action.
Complete the Initial Filter Flushing Process
Run water through your new filter tap for 2-3 minutes until the stream runs completely clear. This crucial step removes manufacturing residues and carbon dust from the new cartridge. Don’t be alarmed if the first few gallons appear cloudy or contain harmless black particles—this is normal activated carbon flushing out of the system.
Attach a Faucet-Mount Water Filter Tap Without Tools
Prepare and Insert the Filter Cartridge Correctly
Unscrew the filter housing top by following alignment arrows to the “open” position. Remove any plastic wrapping from the new cartridge and insert it into the housing chamber. Ensure proper alignment with notches or grooves—some cartridges only fit one way. Screw the housing back together until snug, but avoid overtightening which can crack the plastic casing.
Swap Your Aerator for the Filter Unit
Remove your faucet’s aerator and rubber washer completely—save these parts for future reinstallation. Thread the entire filter unit directly onto your bare faucet spout, hand-tightening securely. If your faucet has unusual thread dimensions, test the included adapters to find the perfect fit before final installation.
Verify Proper Filter Tap Operation
Turn on your cold water and test the filter’s switch mechanism. Most units feature a simple lever or button that toggles between filtered and unfiltered water. Check for leaks around the connection point and ensure filtered water flows at an appropriate rate—significantly slower than unfiltered flow indicates proper filtration.
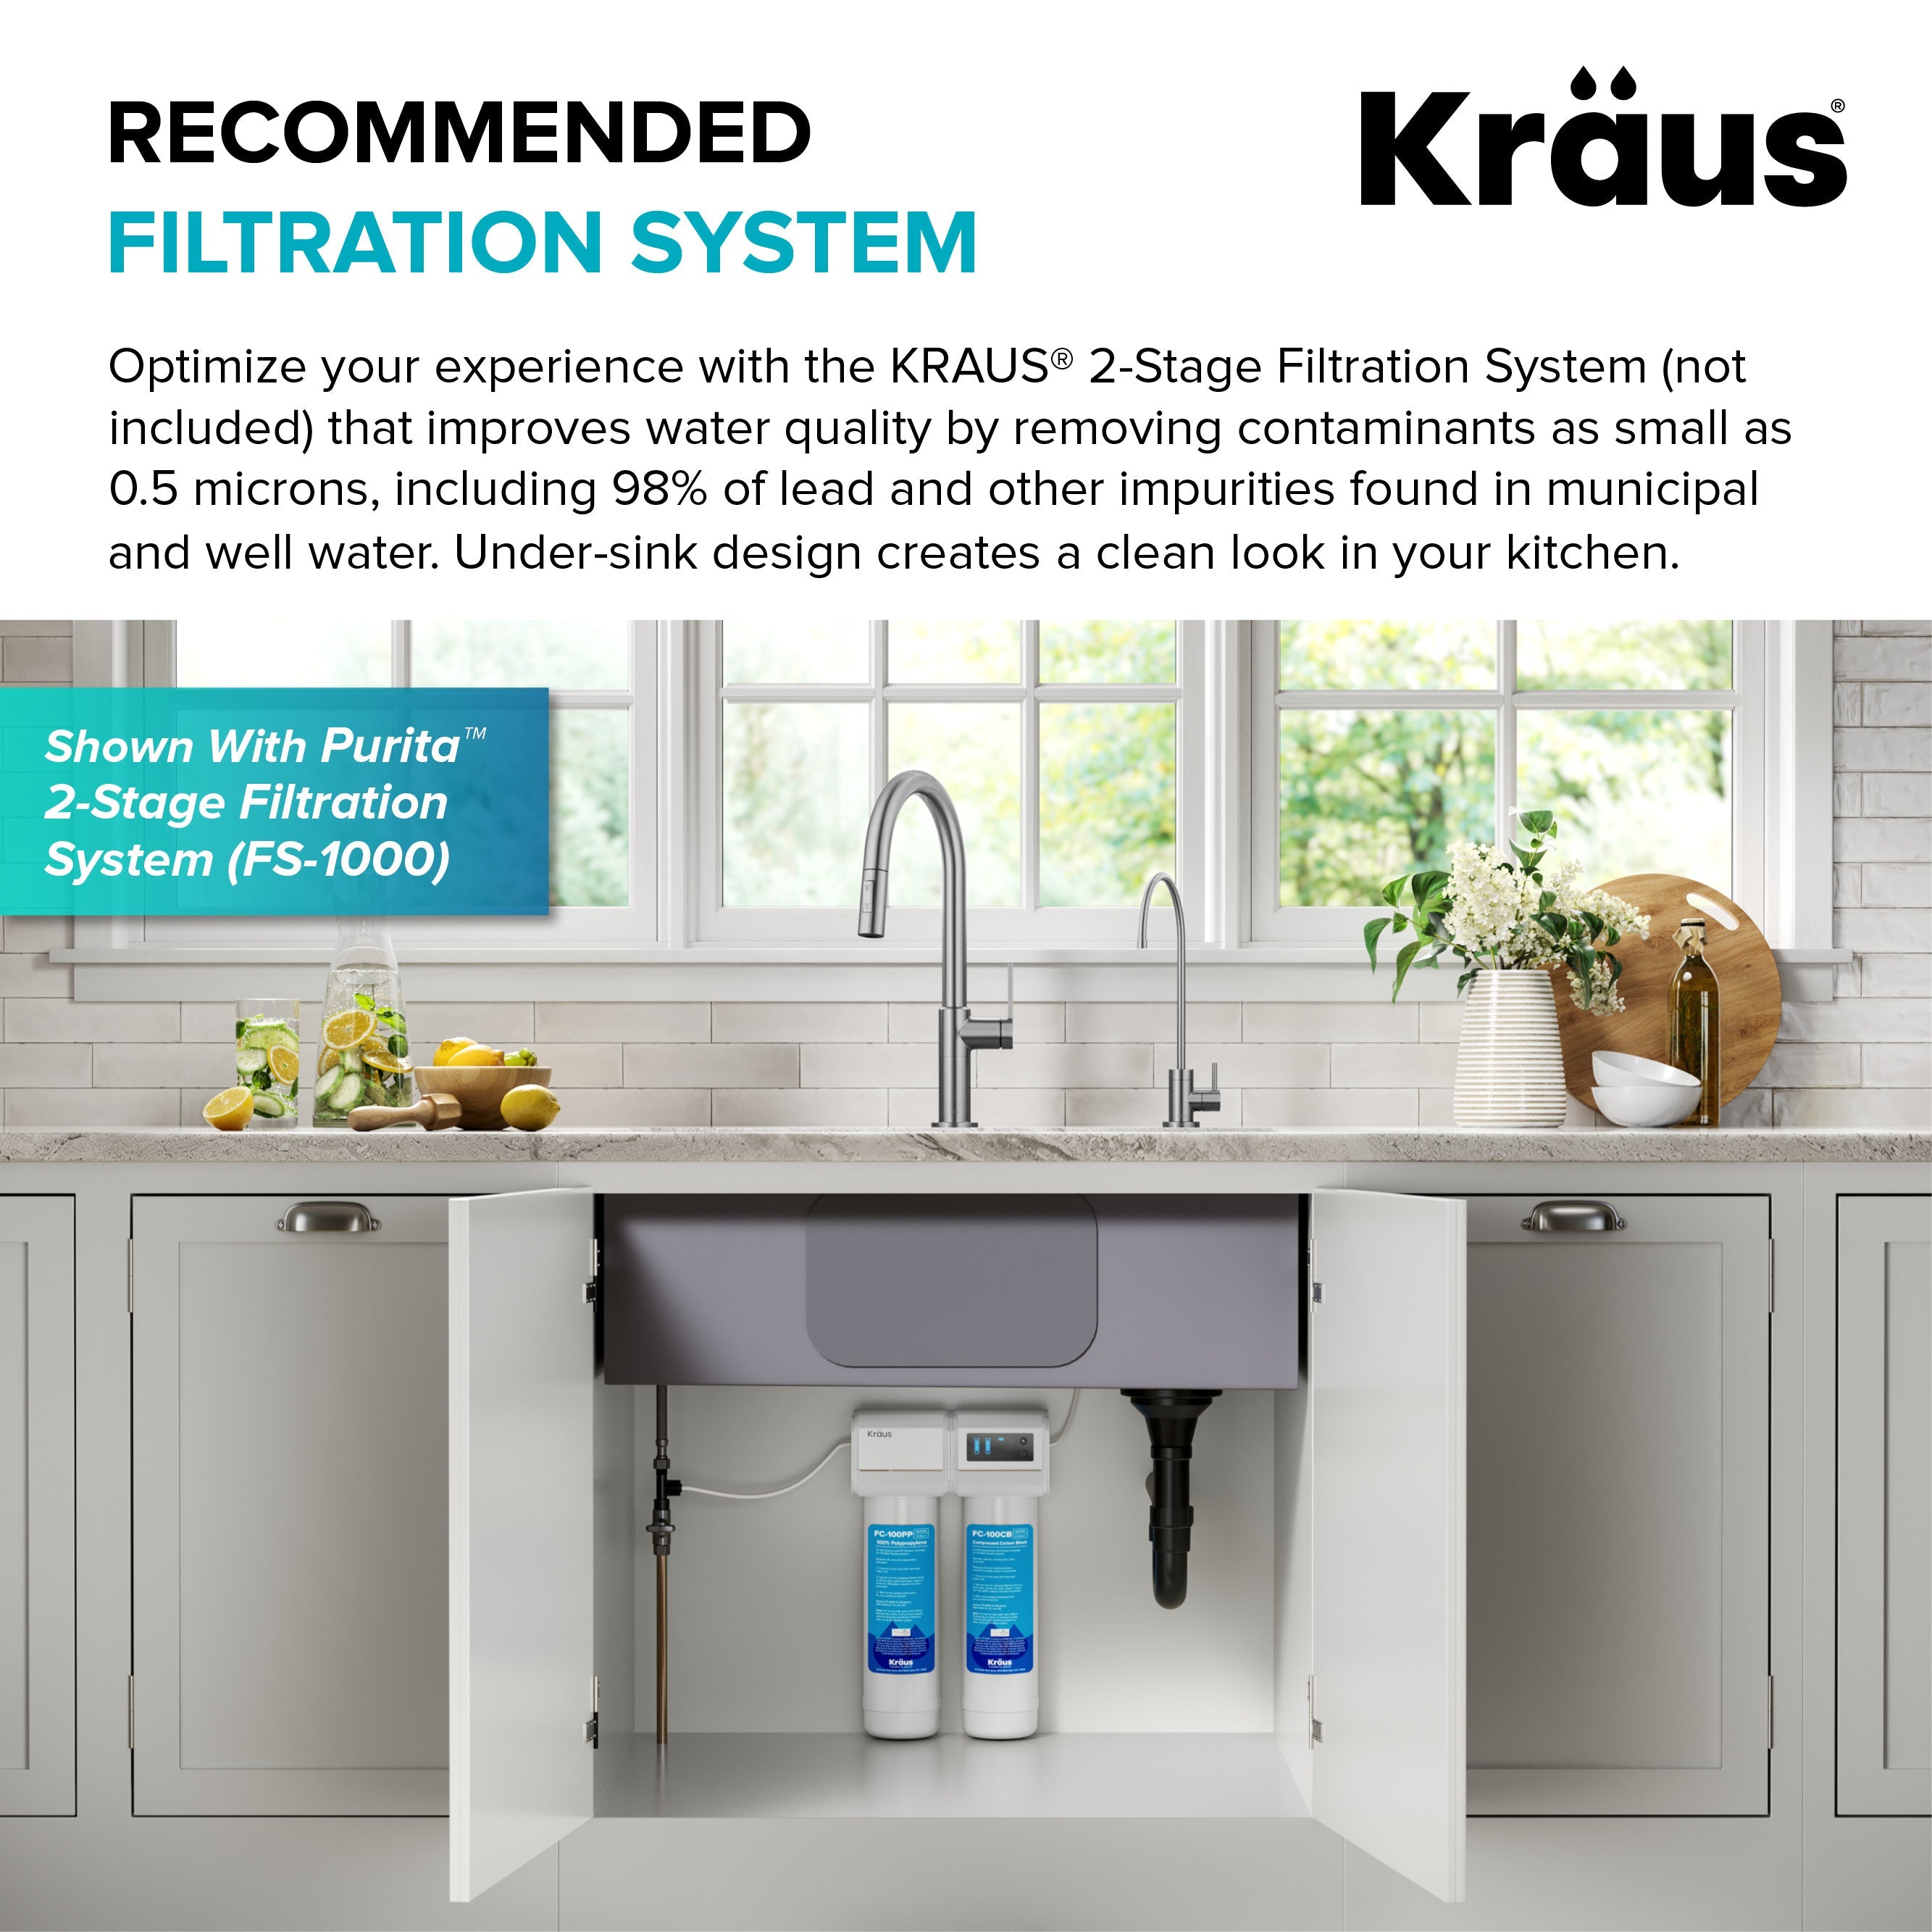
Set Up an Undermount Water Filter Tap System
Shut Off Water and Install Brass Tee Fitting
Turn off the cold-water shutoff valve beneath your sink, then open the faucet to release pressure. Disconnect the existing supply line using your adjustable wrench and install the brass tee onto the valve outlet. Critical step: Wrap all threaded connections with Teflon tape to prevent leaks before tightening.
Mount Filter Housing and Install Dedicated Faucet
Ensure your under-sink space provides minimum 12 inches of clearance from the cabinet bottom. Mark screw locations using the mounting bracket as a template, drill pilot holes with the 7/32″ bit, and secure the filter unit with anchors. If installing a new filtered water faucet, drill a 7/32″ hole in your sink deck, insert the faucet, and secure it with washers and the mounting nut from below.
Connect Tubing and Complete System Activation
Follow the installation diagram to connect:
– Blue tube from brass tee to filter input
– Red tube from filter output to dedicated faucet
– Remaining tube to complete the circuit
Hand-tighten filter sumps onto the mounted unit—never use tools as this causes cracks. Activate the filter monitor by removing the battery compartment strip (you’ll hear five beeps confirming activation). Turn water supply back on slowly and check all connections while running the filtered faucet for 10 full minutes to flush new cartridges.
Troubleshoot Common Water Filter Tap Installation Problems

Fix Faucet Thread Compatibility Issues
When your filter won’t screw on properly, determine if your faucet has internal versus external threads. Test each adapter included with your kit systematically—most compatibility problems resolve with the correct adapter selection. Never force connections as this damages both your faucet and filter.
Eliminate Slow Water Flow After Installation
Restricted flow typically indicates misaligned filter cartridges or incomplete flushing. Remove and reinstall cartridges ensuring proper orientation. For new systems, extend the initial flush cycle beyond the recommended time—some filters require up to 15 minutes of continuous flow to reach optimal performance.
Stop Leaks at Connection Points Immediately
Tighten leaking joints gently with an adjustable wrench—overtightening worsens most leaks. If leaks persist, turn off water, disconnect the fitting, apply fresh Teflon tape, and reconnect. Most leaks occur at brass tee connections or faucet mounting nuts, so inspect these areas thoroughly during your initial leak test.
Maintain Your Water Filter Tap for Optimal Performance
Replace countertop and faucet-mount cartridges every 3 months or 100 gallons. Undermount systems need cartridge and battery replacement every 6 months. Sanitize the housing during each filter change to prevent bacterial growth. Check all connections monthly for looseness, especially on countertop systems that get bumped frequently.
Position countertop units away from heat sources like dishwashers, and never run hot water through any filter tap system—temperature limits vary by brand but cold water only is universal. Flush your system for 30 seconds before each use to clear stagnant water, significantly improving both taste and filter longevity.
Installing a water filter tap delivers immediate access to cleaner, better-tasting water while reducing plastic bottle waste. Choose the system matching your skills and space—countertop for simplicity, undermount for permanence. Follow these steps carefully, and you’ll enjoy filtered water straight from your tap within the hour. Remember to mark your calendar for filter replacements—this simple habit ensures you always get the purest water possible from your newly installed filter tap.