How to Change Under Sink Water Filter Cartridge
This post contains affiliate links. As an Amazon Associate, we earn from qualifying purchases.
Your filtered water faucet suddenly sputters with weak pressure, or worse—tastes metallic. That new filter cartridge has been sitting in your cabinet for months, and you’re wondering if it’s time. Good news: replacing your under-sink water filter cartridge takes 15 minutes and requires no plumbing skills. This guide walks you through the exact process, from identifying when to swap filters to troubleshooting post-installation hiccups. Whether you’re dealing with cloudy water or just following maintenance schedules, you’ll learn how to change water filter cartridge under sink like a pro.
Spot Your Filter’s Warning Signs Before Problems Worsen
Cloudy Water and Pressure Drops That Demand Action
Watch for these red flags that scream “change me now”:
– Cloudy or brown water flowing from your dedicated faucet
– Pressure drop that turns your steady stream into a trickle
– Metallic taste or chlorine smell that wasn’t there last week
– Clear housing turned brown with visible buildup or staining
These symptoms indicate your filter has reached maximum capacity. Continuing to use an exhausted filter can allow contaminants to pass through or even reintroduce trapped particles into your water. The moment you notice consistent pressure loss or taste changes, prepare for replacement—don’t wait until your filtered water stops flowing completely.
Follow Your Filter’s Exact Replacement Schedule
Different filters have different lifespans:
– Carbon filters: Every 6-12 months (longer with light usage)
– Sediment pre-filters: Every 3-6 months (catches rust and debris)
– RO membranes: Every 2-3 years (the workhorse of reverse osmosis)
– Specialty filters (lead/fluoride): Follow manufacturer specs exactly
Setting calendar reminders based on these timelines prevents oversight. For carbon filters in a standard household, mark your calendar for 6 months after installation as a safe starting point, then adjust based on your water quality and usage patterns.
Calculate Your Personalized Filter Timeline
Most filters last 500-1,500 gallons. Calculate your timeline:
– Family of four: 8-16 gallons daily = replace every 2-4 months
– Single person: 2-4 gallons daily = replace every 4-8 months
– Pro tip: Install a $15 water meter for precise tracking
If you notice your water quality declining before the scheduled replacement, don’t wait—change the filter immediately. Hard water areas or homes with older plumbing may require more frequent changes regardless of the standard schedule.
Gather Everything You Need Before Crawling Under the Sink
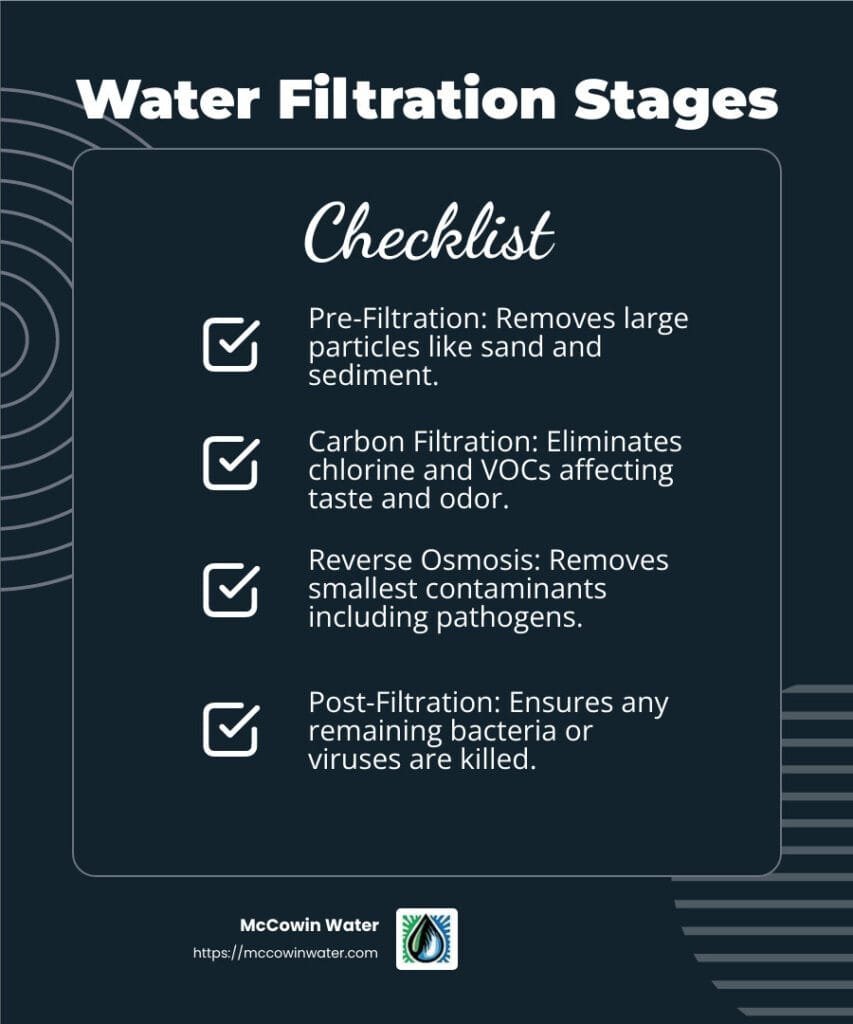
Essential Tools Checklist for Hassle-Free Replacement
Gather these before starting:
– Exact replacement cartridge (model number critical)
– Filter wrench (usually came with your system)
– 2-gallon bucket for unavoidable spills
– Clean towels for water management
– Teflon tape for connection sealing
– Food-grade silicone for O-ring lubrication
– White vinegar for scale removal
Double-check your cartridge model number against your existing filter before purchase. Using the wrong size or type can cause leaks or poor performance. Most standard filters measure 2.5″x10″ or 4.5″x10″, but specialty systems may require different dimensions.
Critical Safety Steps You Must Complete First
Never skip these:
1. Turn off cold water valve feeding your filter system
2. Open filtered faucet to release built-up pressure
3. Unplug UV systems (if applicable)
4. Spread towels to absorb inevitable drips
Working with water and electricity requires caution. If your system includes UV purification or an electric pump, disconnect power completely before starting. Skipping this step risks electrical hazards, especially when water inevitably spills during the process.
Execute Perfect Filter Replacement in 5 Clear Steps
Complete System Shutdown Procedure
- Locate shut-off valve on line feeding your filter
- Turn clockwise until snug—don’t over-tighten
- Open filtered faucet and wait 30-60 seconds for drainage
- Place bucket directly under filter housing
The valve is typically a small saddle valve or inline valve on the cold water supply line. Turn it clockwise until firm resistance—forcing it can damage the valve. Opening the filtered faucet releases pressure and drains residual water from the housing, minimizing spills when you open it.
Remove Filter Housing Without Damage
- Slide filter wrench over housing, seating it at the base
- Turn counterclockwise slowly—initial resistance is normal
- If stuck: Tap wrench with rubber mallet or warm housing with hair dryer
- Hand-loosen once loose, then lower housing into bucket
Apply steady, even pressure when turning. If the housing doesn’t budge after moderate force, stop and try alternative methods. Forcing it can crack the housing or strip threads, creating a much bigger problem than a simple filter change.
Swap Old Cartridge While Preventing Contamination
- Pour out water from housing
- Pull old cartridge straight out—note arrow direction
- Inspect housing for cracks or mineral buildup
- Clean housing with warm water and vinegar solution
Examine the old cartridge for unusual discoloration or debris that might indicate water quality issues. Black specks are normal carbon particles, but rust-colored sediment suggests problems with your plumbing. Clean the housing thoroughly to prevent reintroducing contaminants when you install the new filter.
Install New Cartridge with Precision
- Inspect O-ring in housing groove—replace if cracked
- Lubricate O-ring with thin silicone layer
- Insert new cartridge with arrow pointing toward output
- Add 1-2 cups water to prevent air locks
- Hand-tighten housing, then wrench 1/4 turn more
The flow direction arrow is critical—installing backwards blocks water flow. Lubricating the O-ring ensures a proper seal and makes future removal easier. Adding water to the housing prevents dry starts that can damage the filter media.
Restart and Test for Perfect Performance
- Slowly open inlet valve counterclockwise
- Check all connections for immediate leaks
- Flush 5-10 minutes until water runs clear
- Test flow rate against previous performance
- Recheck leaks after 30 minutes
Initial black water is normal carbon fines flushing out. Continue flushing until the water runs completely clear. This step activates the new filter media and removes manufacturing residues. Don’t skip the 30-minute recheck—some leaks only appear after water pressure stabilizes.
Fix Common Problems After Changing Your Filter
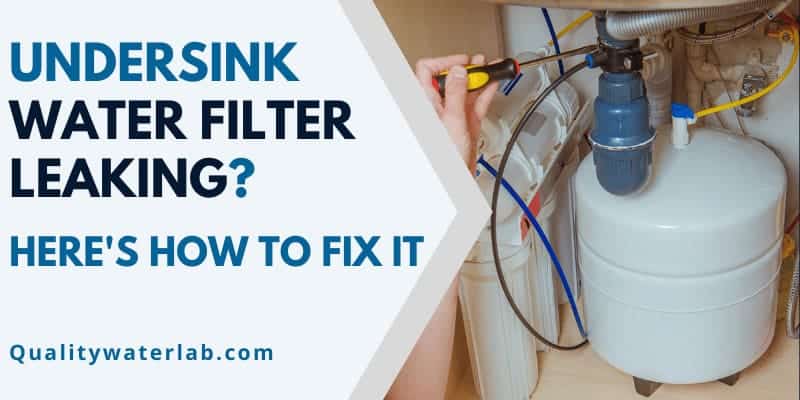
Stop Leaks from Housing Seals Immediately
Quick fixes for threaded leaks:
– Re-seat O-ring in groove—it shifts easily
– Replace damaged O-ring (keep spares on hand)
– Clean threads of debris before reassembly
– Check for housing cracks requiring replacement
Most leaks stem from improper O-ring placement. Remove the housing, inspect the O-ring groove for debris, and ensure the ring sits perfectly in its channel before reassembling. A thin layer of food-grade silicone on the O-ring prevents future leaks.
Restore Full Water Pressure in Minutes
When flow drops dramatically:
– Verify cartridge alignment—backwards installation blocks flow
– Check supply lines for kinks or pinches
– Ensure valves fully open—quarter-turn valves stick
– Look for cartridge packaging left inside
Backward installation is the most common pressure issue. Remove the housing and confirm the flow arrow points toward your faucet. Also check that you’ve removed all protective packaging—some cartridges come with plastic end caps that must be discarded.
Clear Cloudy Water Without Panic
Milky appearance that clears from bottom up:
– Normal air entrapment clears within 24-48 hours
– Extended flushing for 5-10 additional minutes
– Check connections for air intake points
– Verify cartridge matches system requirements
This harmless condition occurs when air gets trapped in the system during replacement. Continue flushing until the cloudiness disappears completely. If it persists beyond 48 hours, check for loose connections allowing air intake.
Maintain Your Filter System for Long-Term Performance
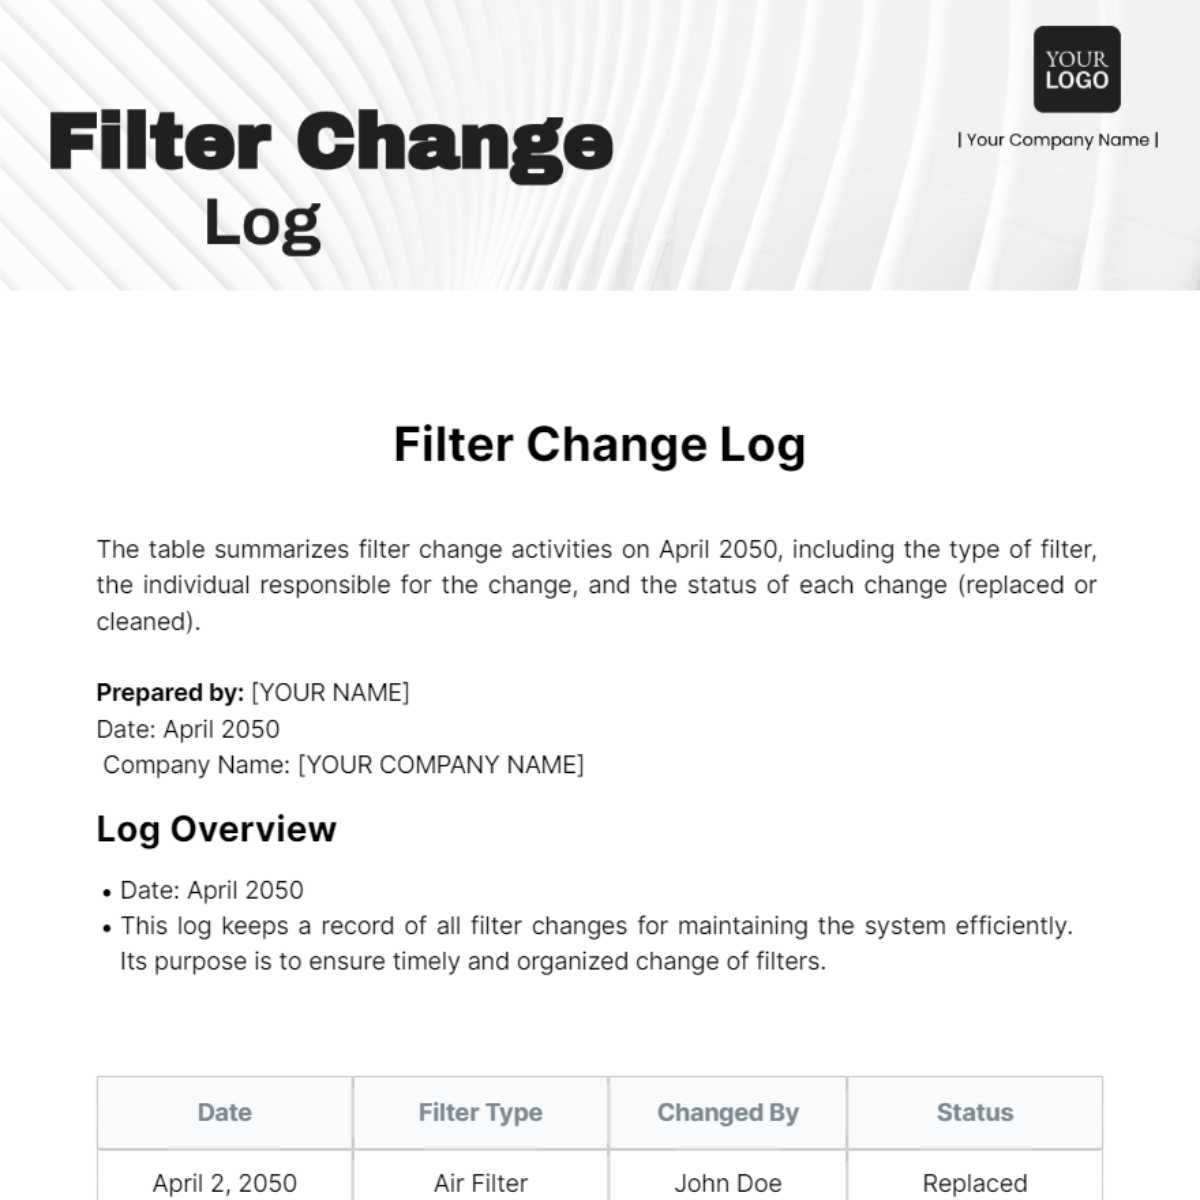
Implement Simple Monthly Checks
- Visual leak check during dishwashing
- Wipe housing exterior to prevent buildup
- Test mounting stability with gentle tug
- Note any taste changes in your water
These quick inspections catch small issues before they become major problems. Pay special attention after extreme temperature changes, which can affect plastic components and connections.
Track Water Quality with Quarterly Testing
- TDS meter check ($10 tool, instant results)
- pH strips for 6.5-8.5 range
- Chlorine test should read <0.1 ppm
- Lead test especially for pre-1986 homes
Testing verifies your filter is working properly. A sudden TDS increase indicates your filter needs replacement, while high chlorine levels suggest carbon exhaustion. Keep test results in your maintenance log to identify trends.
Create a Foolproof Filter Calendar System
Track this data:
– Installation dates for each cartridge
– Replacement schedule reminders
– Water quality results
– Issues and solutions for future reference
Set phone reminders 1-2 weeks before each filter’s expiration date. Consider marking your physical calendar too—many people overlook digital reminders until it’s too late. This simple habit prevents forgotten replacements that compromise water quality.
Know When to Handle It Yourself vs. Call a Pro
DIY Filter Changes That Save You $100
Handle it yourself when:
– Exact cartridge replacement with no system changes
– Adequate under-sink space to work comfortably
– Basic tools are all that’s required
– Previous experience with plumbing connections
Most standard filter changes fall into this category. If you’ve successfully changed the filter before or feel comfortable with basic plumbing tasks, you’ll save significant money by doing it yourself. The process is designed for homeowner maintenance.
Call a Professional for Complex Situations
Professional help needed for:
– System modifications or stage additions
– Persistent leaks after multiple attempts
– Electrical components like UV or pumps
– Local code requirements for licensed work
– Warranty protection concerns
Attempting complex repairs without proper knowledge can void warranties or create safety hazards. If you’re unsure about any aspect of the process, especially with reverse osmosis or UV systems, consult a professional.
Final Note: Mark your calendar with the replacement date—most failures happen because filters are forgotten. Your future self (and your water quality) will thank you for staying on schedule. Remember that changing your water filter cartridge under sink regularly protects your health and extends your system’s life, making this simple maintenance task one of the most valuable home chores you’ll perform all year.