How to Install PUR Water Filter Pitcher
This post contains affiliate links. As an Amazon Associate, we earn from qualifying purchases.
Nothing beats the taste of crisp, clean water straight from your tap—but only if your PUR pitcher is installed properly. A poorly seated filter or skipped priming step can leave you with funky-tasting water and wasted money on cartridges. Whether you’ve just unboxed your first PUR pitcher or you’re replacing an old filter, this guide walks you through every step to guarantee pure, great-tasting water from day one. Knowing exactly how to install PUR water filter pitcher components ensures optimal performance right from your first glass.
Most installation failures happen because people skip the critical 15-minute soak or misalign the filter in the reservoir chamber. These mistakes leave carbon fines in your water and reduce filtration effectiveness. By following these precise steps, you’ll activate your filter correctly and avoid common pitfalls that compromise water quality. Let’s get your PUR pitcher ready to deliver the clean, refreshing water your household deserves.
Gather All Components Before Starting
Before you tear open anything, lay out every part on a clean counter. Missing even one piece means a trip back to the store while you’re thirsty. The PUR pitcher system includes several components that must work together seamlessly for proper filtration.
Essential Parts Verification Checklist
- Pitcher body – the clear main container that holds filtered water
- Upper reservoir – smaller insert with integrated filter chamber
- Lid assembly – snaps securely on top with built-in pour spout
- Filter cartridge – still sealed in foil pouch (PPF900Z or compatible model)
- Instruction sheet – keep nearby for model-specific details
Quality Inspection Protocol
Run your fingers along the pitcher rim to check for cracks or imperfections. The filter foil pouch must remain completely sealed; any punctures mean the carbon media has already begun absorbing contaminants. Flip the filter over to verify the model number (like PPF900Z) and expiration date—using expired filters significantly reduces contaminant removal effectiveness. If anything appears damaged or missing, contact PUR customer service before proceeding with your PUR water filter pitcher installation.
Cold Water Setup Only for Optimal Performance
Hot water destroys the carbon media inside the filter before you even start. Stick strictly to cold tap water for every step of the installation process to preserve filtration capabilities.
Ideal Water Temperature Parameters
- Maximum: 68°F / 20°C (standard cold tap temperature)
- Minimum: 32°F / 0°C (not frozen water)
- Never use: Hot tap, boiling, or microwaved water
Sink Preparation Essentials
Clear the sink area of dishes, sponges, and cleaning products that could contaminate your new system. Wipe down the faucet with a clean cloth to remove soap residue or mineral deposits. Any foreign substances introduced during installation can compromise your filter’s ability to remove contaminants from tap water. This preparation ensures your how to install PUR water filter pitcher process starts with a clean environment.
Activate Filter with Mandatory 15-Minute Soak

The carbon inside your filter needs activation. Soaking wakes up the media and rinses away loose particles that would otherwise cloud your first glass of water.
Proper Soaking Procedure
- Remove filter from sealed packaging carefully
- Submerge completely in cold water using pitcher, glass, or bowl
- Set timer for 15 minutes minimum—no shortcuts
- Observe carbon particles swirling (normal pre-carbon release)
After the timer sounds, discard the darkened water. Hold the filter under cold running water for 10-15 seconds while rotating it to rinse all sides thoroughly. This critical step removes loose carbon fines that would otherwise end up in your drinking water. Skipping this soak is the most common mistake when learning how to install PUR water filter pitcher systems.
Lock Filter into Reservoir with Precision
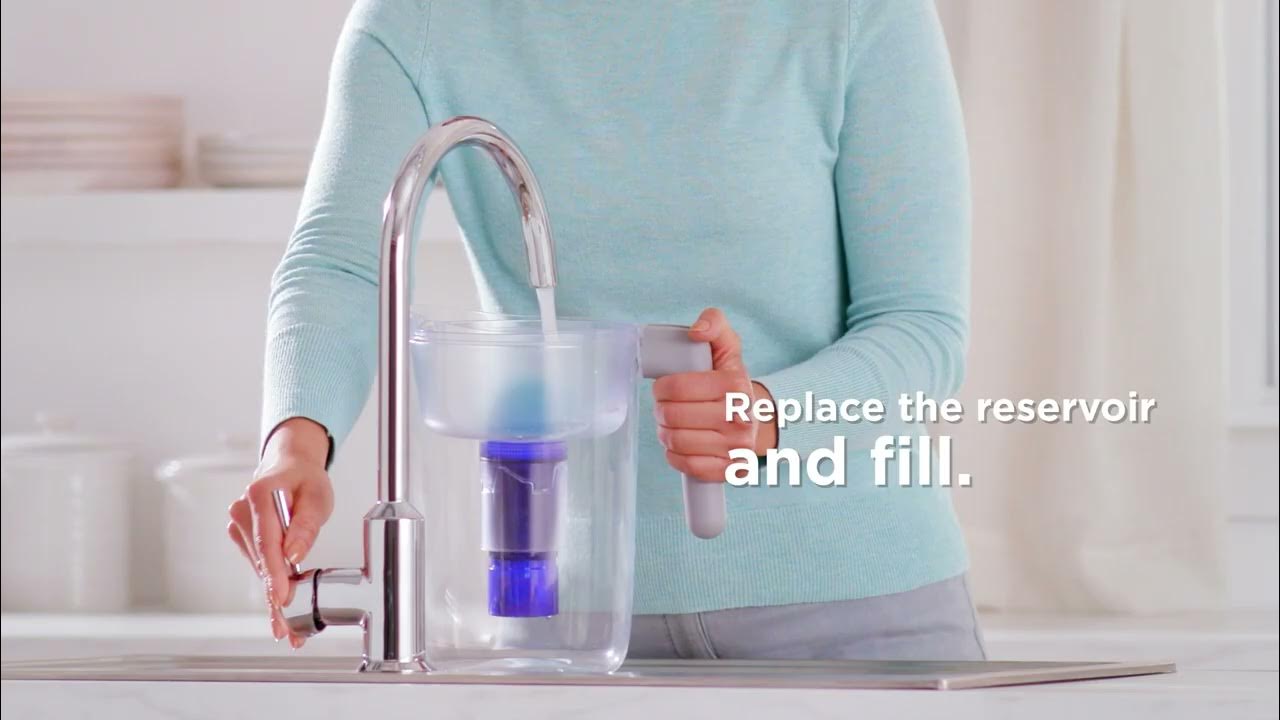
Your reservoir features a built-in filter chamber with a twist-lock mechanism. Proper alignment prevents leaks and ensures maximum contaminant removal.
Correct Filter Positioning
- Rounded end faces DOWN toward pitcher base
- Flat end with grip ridges faces UP for easy handling
- Blue plastic housing stays intact—never remove protective casing
Secure Locking Technique
Insert the filter straight down until it contacts the chamber bottom. Twist clockwise approximately 1/4 turn (about 90 degrees) until resistance is felt. A soft click confirms proper locking. The filter should sit flush with no wobbling or tilting. If the filter spins freely, it’s not properly seated—remove it, check for plastic flashing, and repeat the locking process. This precise orientation is non-negotiable when you install PUR water filter pitcher components correctly.
Prime System with Triple Rinse Cycle
New filters contain manufacturing residues that affect taste. Three complete fill-and-dump cycles flush everything clean and activate full filtration capacity.
Complete Priming Sequence
- Fill reservoir to max line indicator with cold water
- Wait 2-3 minutes for complete water passage through filter
- Discard entire pitcher into sink (do not drink this water)
- Repeat process two additional times for total of three cycles
Important: First cycle water may appear slightly gray due to carbon dust—this is normal. By the third cycle, water should run completely clear. This triple rinse process is absolutely essential when you install PUR water filter pitcher systems; skipping it leaves manufacturing residues in your drinking water.
Set Electronic Indicator (If Equipped)
PUR Plus and LED models include a battery-powered filter life tracker. Activating it now starts the 40-gallon or 2-month countdown.
Indicator Activation Steps
- Locate recessed reset button on lid (marked “Reset” or filter icon)
- Press and hold for 5-8 seconds until green light flashes
- Release immediately upon seeing flash
- Solid green light confirms proper activation
No electronic indicator? Mark your calendar exactly two months from today or track usage (40 gallons equals approximately 160 fills for standard 7-cup pitchers). Proper indicator setup ensures you never unknowingly use an expired filter when maintaining your how to install PUR water filter pitcher system.
Prevent Common Installation Mistakes
Most “defective” PUR pitchers simply need correction of simple installation errors. Address these issues before assuming you need replacement parts.
Filter Won’t Lock Solutions
- Verify orientation – rounded end must face downward
- Check for plastic burrs – gently scrape off with fingernail
- Clean chamber – rinse filter housing with warm water to remove debris
Slow Filtration Fixes
- Release air pockets – tap filter gently against clean surface
- Clear vent holes – ensure reservoir vent holes aren’t blocked
- Confirm cold water use – warmer water flows slower through filters
Leak Prevention Methods
- Secure lid properly – should click firmly into place
- Respect fill line – never overfill beyond maximum indicator
- Align reservoir correctly – must sit flat inside main pitcher body
Maintain for Peak Performance
Daily habits determine how long your filter lasts and how good your water tastes. Proper maintenance extends filter life and ensures consistent water quality.
Daily Usage Best Practices
- Cold water only – hot water destroys filter media
- Refrigerate filtered water – maintains freshness and inhibits bacterial growth
- Refill after pouring – keeps system primed for instant access
Replacement Protocol
- 40 gallons = approximately 160 fills for 7-cup pitcher
- 2 months maximum even with minimal usage
- Track usage carefully – heavy use requires more frequent changes
When replacing filters, repeat the entire installation process including the 15-minute soak and triple rinse cycle. The twist-lock mechanism releases by turning counterclockwise. Old filters should be disposed of according to local regulations as they contain activated carbon and plastic components.
Model Variations Simplified

All PUR pitchers follow the same fundamental installation process with minor capacity and feature differences:
- Classic 7-Cup – manual tracking, no electronic indicator
- Ultimate 11-Cup – larger reservoir capacity, same filter type
- Plus LED 11-Cup – advanced indicator system with visual alerts
The filter cartridge (PPF900Z) and core installation steps remain identical across all models. Only reservoir size and indicator features vary between models, making your how to install PUR water filter pitcher knowledge universally applicable.
Bottom line: A properly installed PUR pitcher delivers crisp, contaminant-free water for pennies per glass. Skip the soak or seat the filter wrong, and you’ll taste the difference immediately. Follow these steps precisely when you install PUR water filter pitcher systems, and every refill rewards you with water that makes tap water taste like yesterday’s news. Proper installation ensures maximum removal of lead, mercury, chlorine taste and odor for healthier hydration all year long.